Changing the color of a pair of leather shoes is not just a simple brush stroke. The result depends as much on the type of leather as on the product chosen, the surface preparation, and the number of layers applied. This article compares the variables that separate a successful dye job from a visible failure at the first step.
Smooth leather dyeing or nubuck: two protocols not to be confused
Most tutorials treat leather shoe dyeing as a unique process. This is a simplification that leads to costly mistakes. Smooth leather has a surface finish layer, sometimes waxed, that prevents the dye from penetrating unless it is removed beforehand. Nubuck or suede leather, on the other hand, has an open fibrous surface that absorbs the product very quickly, with a risk of stains if the application lacks consistency.
| Criteria | Smooth leather | Nubuck / suede |
|---|---|---|
| Preparation | Stripping of factory finish required | Gentle brushing, no harsh stripper |
| Type of dye | Pentrating dye (alcohol or water-based) | Specific nubuck dye (suitable spray or liquid) |
| Number of layers | 3 to 5 thin layers | 2 to 3 light layers |
| Finish | Fixative/sealant then nourishing wax | Waterproofing spray, no traditional wax |
| Main risk | Drips if layer is too thick | Uneven absorption and stains |
A point that competitors rarely address: knowing how to dye leather shoes without first identifying the exact nature of the leather is akin to applying treatment blindly. The touch and visual appearance help to decide: smooth leather reflects light, while nubuck has a matte and velvety appearance.
Stripping the factory finish: why this step changes everything
The leather of new shoes is covered with a protective layer applied in the factory. This finish blocks the penetration of pigments. Without prior stripping, the dye remains on the surface and flakes off within a few days.
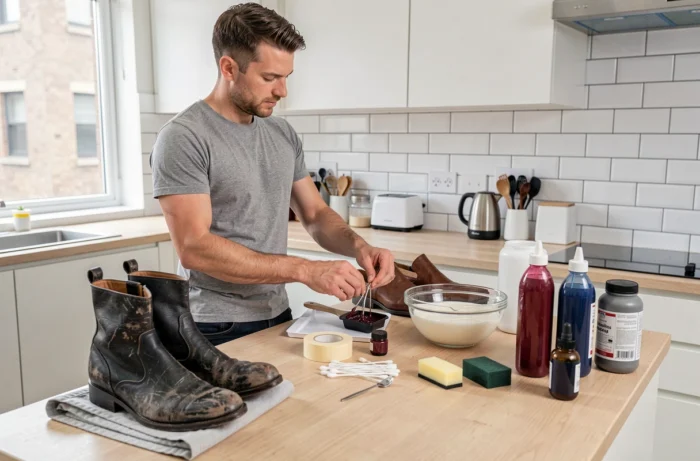
Stripping involves rubbing the surface with a specific preparer or degreaser. This product dissolves waxes, silicones, and accumulated polish residues. The surface obtained after this operation is matte, slightly rough to the touch, ready to absorb the color.
Common mistakes during stripping
- Using pure acetone or household remover, which dries out the leather and can cause irreversible cracking. Preparers formulated for leather (like those from Saphir or Angelus) contain agents that clean without destroying the fibers.
- Uneven rubbing: some areas remain covered with finish while others are completely bare. The dye then penetrates differently and creates visible shade variations.
- Skipping this step on already polished leather thinking that the dye will “work anyway.” The polish forms a hydrophobic barrier that the dye cannot penetrate.
Dye application: thin layers and drying between each pass
The most documented technical rule by specialized sources can be summed up in one sentence: multiple very thin layers are better than one thick layer. A thick layer causes drips, brush marks, and uneven drying that leaves darker areas than others.
The application is done with a pad, soft cloth, or fine brush depending on the surface to be covered. Each layer must dry completely before the next. Drying takes place in open air, at room temperature, away from any direct heat source.
Water-based or alcohol-based dye
Water-based dyes penetrate gradually and offer more working time. They are suitable for beginners because they better forgive application mistakes. In contrast, alcohol-based dyes penetrate faster and produce more intense shades, but leave less room for correction. Brands like Fiebing’s offer ranges in both categories.
The choice of color follows a physical constraint: you can darken light leather, but lightening dark leather requires deep stripping that weakens the material. Going from brown to black works well. The reverse is technically possible but rarely satisfactory at home.
Fixation and protection after dyeing: stabilizing the obtained color
Once the last layer of dye is dry, the color remains vulnerable to friction and moisture. The fixation serves to lock the pigments into the leather fibers.
The fixative (also called finisher) comes in the form of matte, satin, or glossy varnish. The choice depends on the desired effect. A matte varnish preserves the natural look of the leather. A glossy varnish adds depth but can give a plastic appearance if the layer is too thick.
Leather care after dyeing
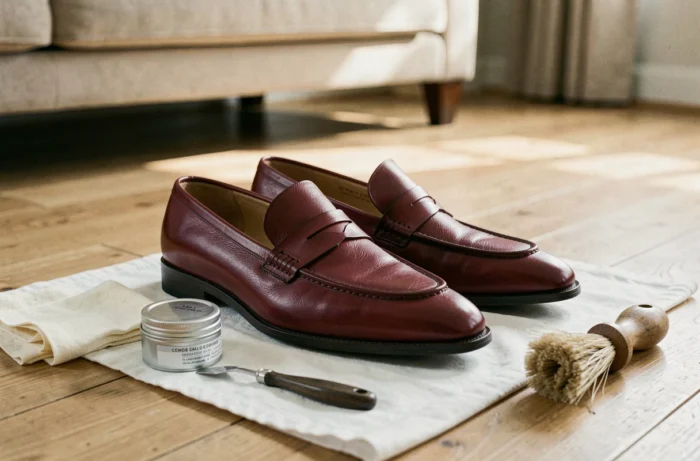
After fixation, a nourishing wax restores the suppleness of the leather dried out by stripping and dyeing. This step is not cosmetic: dry leather cracks, and the cracks reveal the original color beneath the dye.
For nubuck and suede, traditional wax is to be avoided. A specific waterproofing spray protects the surface without crushing the fibers that give the leather its velvety appearance.
Drying conditions and work environment
Drying is treated as a detail in many guides. Technical sources place it at the same level of importance as application. Drying near a radiator or with a hairdryer accelerates evaporation unevenly and causes cracking or color variations.
The work area must be ventilated to dissipate solvents, but without drafts that blow dust onto the freshly dyed surface. Working on a surface protected by newspaper or plastic film prevents stains on the work surface and allows you to turn the shoes without sticking them.
Dyeing leather shoes at home relies on a precise sequence: identification of the leather, appropriate stripping, thin layers with intermediate drying, fixation, and then nourishment. Any shortcut in this chain results in visible outcomes. Once leather is poorly dyed, it is not easily “fixed” without restarting the process from stripping.